How to Make YouTube Thumbnails With Midjourney (That You Can Sell)
Dils
July 31, 2023
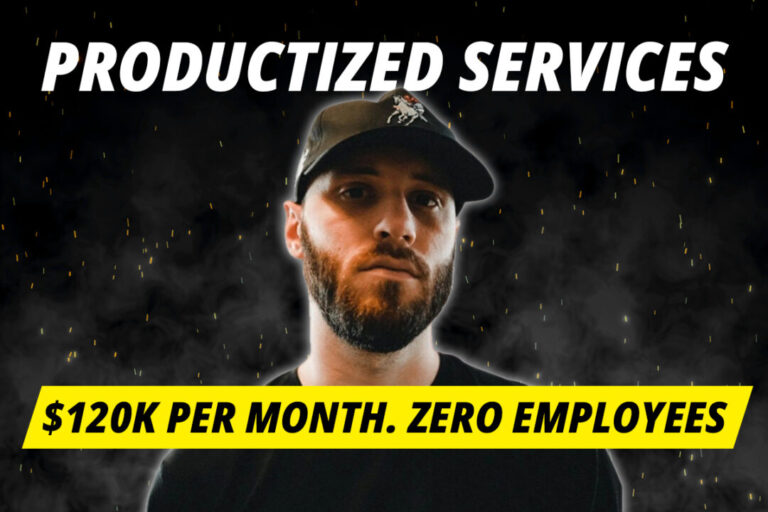
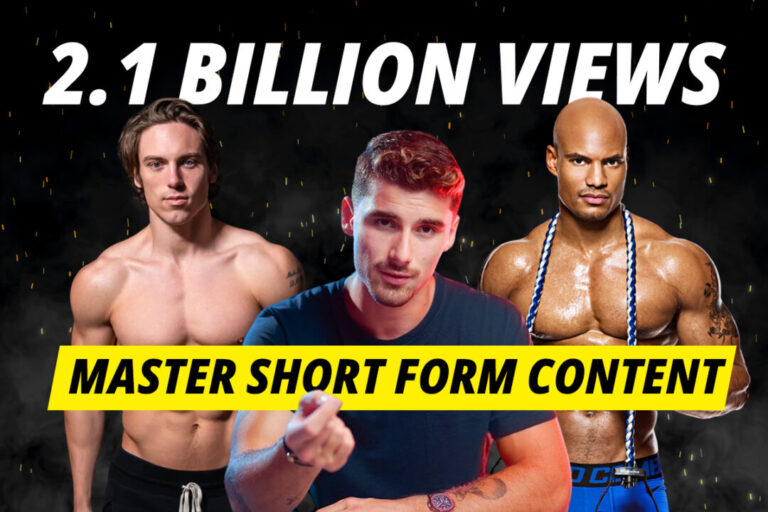
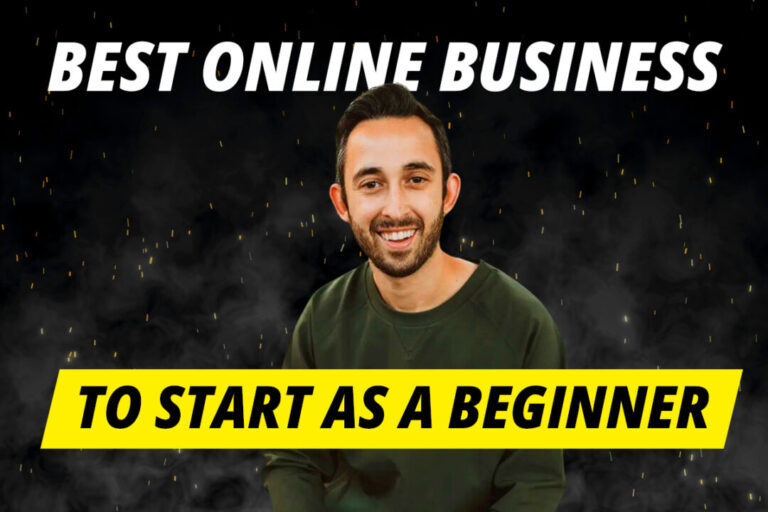
Want to learn how to make YouTube thumbnails like this forfree?
I mean, just look at them. They’re so damn clickable.
In this article, we’ll show you how to use Midjourney and another free image editing tool to create YouTube thumbnails that boost click-through rates (or you can sell them to other YouTubers for $$$).
Why are high-quality YouTube thumbnails so important?
When browsing Youtube, people have two things to make a quick decision on whether they want to dedicate a chunk of their life to watching your video:
The title
The thumbnail
We’re told not to judge books by their covers, but we do. Your thumbnails must get people’s attention and intrigue them all in a snap second.
So, if you’re a YouTuber trying to boost your click-through rate and views, you should be doing everything you can to improve your thumbnails.
Most YouTubers, however, prefer to pay designers to make the thumbnails for them. That means you could easily make money online by creating and selling these thumbnails. This freelancer has made tens of thousands of dollars doing exactly that on Fiverr.
What makes a good YouTube thumbnail?
First, we need to know what components make a good thumbnail. Who better to learn from than the best: MrBeast.
He is notorious for meticulously testing every aspect of his thumbnails because he knows how important they are for getting more views. Rather than doing the testing ourselves, we’re going to analyze his thumbnails to see exactly what works and what doesn’t (thanks MrBeast).
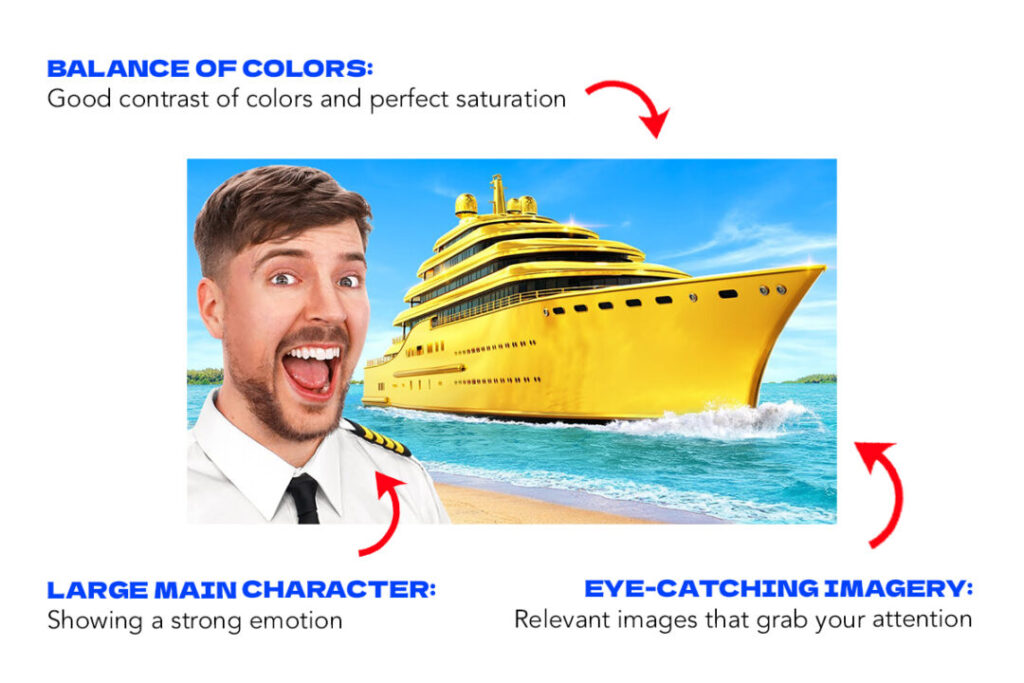
From a quick look at MrBeast’s thumbnails, we can see the following components make up a great thumbnail:
Large main character: Showing a strong emotion (such as a wide-mouthed smile)
Balance of colors: Good contrast of colors in the image, as well as perfect saturation (not going over the top
Eye-catching imagery: Backgrounds and images that grab your attention, while staying relevant to the content to give viewers an idea of what they can expect in the video.
How to make YouTube thumbnails with Midjourney
To make these thumbnails, we’re going to use two tools: Midjourney (to create beautiful imagery) and Photopea (to add text and final touches).
For those that are unfamiliar with Photopea, it is basically a free version of Adobe Photoshop. I know… I was shocked when I first heard about it too.
In this article, we’ll share three examples to demonstrate the different tips and techniques you can use. To do that, we’re going to recreate the thumbnails for some of the most successful videos on YouTube.
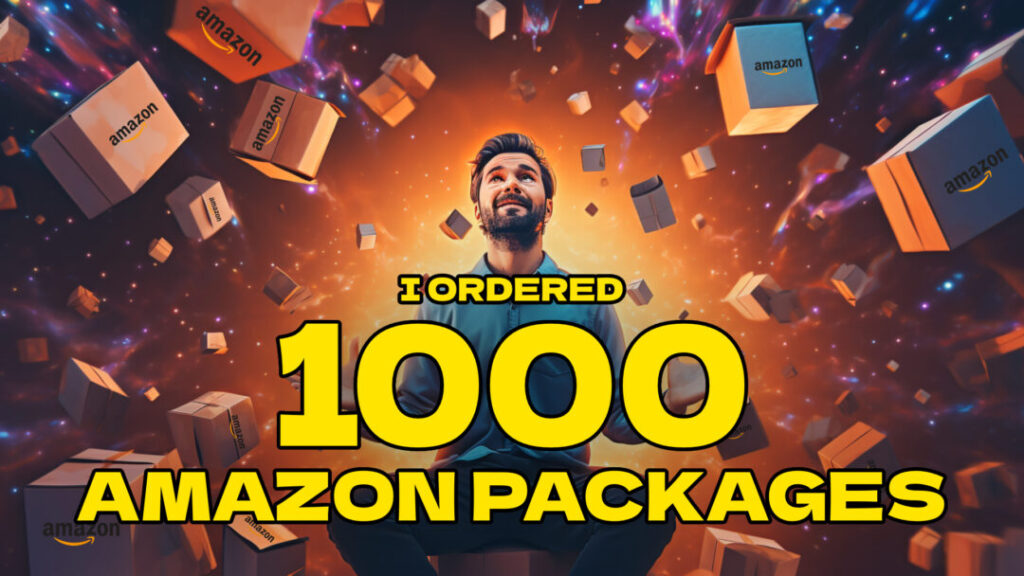
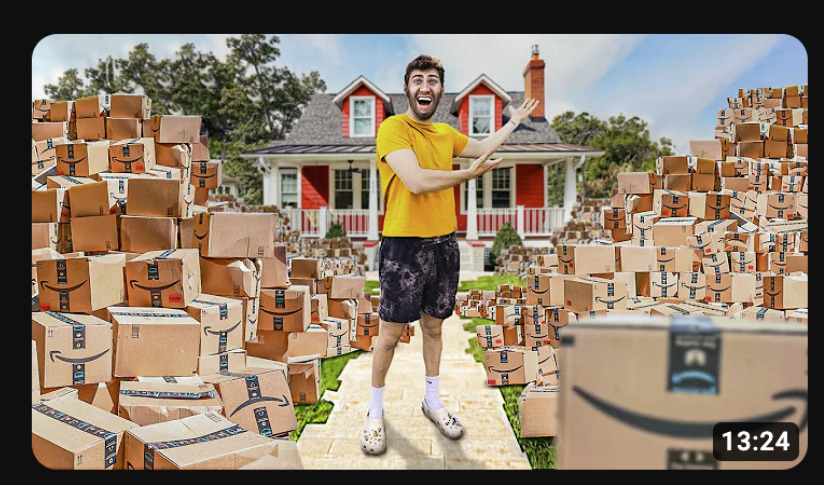
Example 1: “I Ordered 1,000 Amazon Packages”
For the first example, we’re going to recreate the thumbnail for Airrack’s popular video: “I Ordered 10,000 Amazon Packages”.
Step 1: Use Midjourney to generate the images
To recreate the thumbnail, we need to generate some eye-catching images that are relevant to the topic.
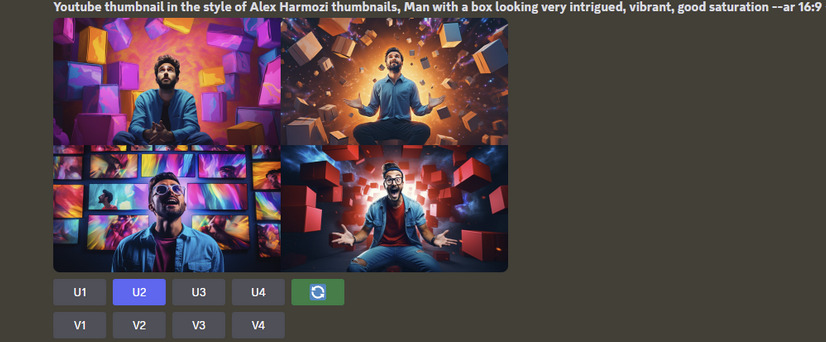
So, in Midjourney, we used this prompt:
Youtube thumbnail in the style of Alex Hormozi thumbnails, Man with a box looking very intrigued, vibrant, good saturation --ar 16:9
The most important things to note here are:
Relevant images: We ask for images that are relevant to the content topic (i.e. a man with boxes looking intrigued)
A main character: the thumbnail has a main character that takes up a high percentage of the thumbnail’s space.
Balance of colours: Our prompt includes “vibrant, good saturation”
Aspect ration: The aspect ratio is 16:9, which will work best for YouTube thumbnails.
Step 2: Upload the image to Photopea
Step 3: Add extra details
To make the image look more realistic, we want the boxes to include the amazon logo. To do that, we can find a PNG file of the Amazon logo on Google.
We can place the Amazon logo on each of the boxes in the thumbnail.
Step 4: Add relevant text
Finally, we’re going to add some relevant text to the thumbnail so people will quickly recognize what the video is about.
To do that, we add a text layer in a bright and visible color.
Final result…
Master Midjourney With 1,000+ Free Prompts...
Check out our free resource of 1,000+ Midjourney Prompts. It includes design styles, logo prompts, photography prompts, game design prompts, Anime prompts, and a lot more.
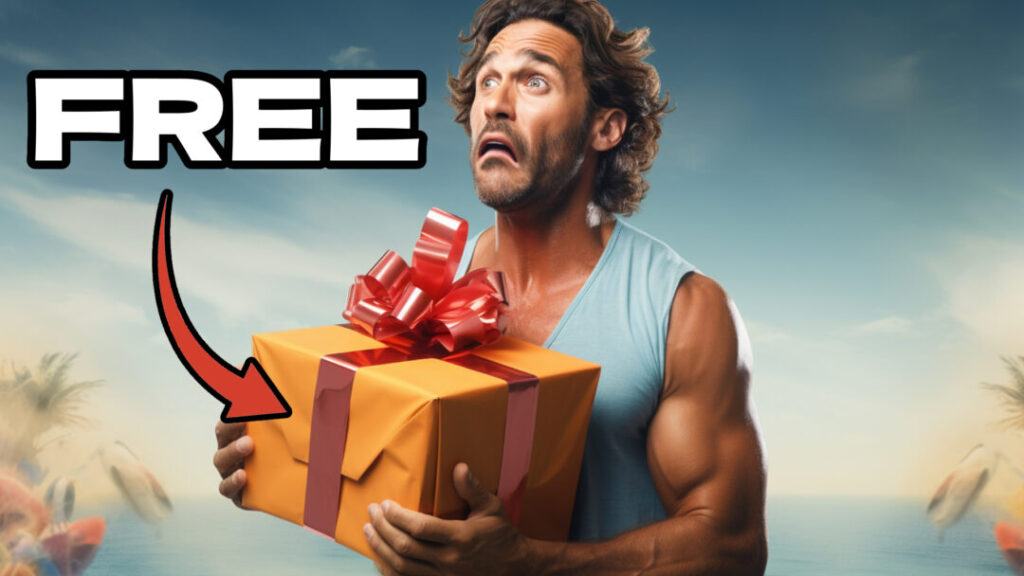
Example 2: “Giving Away Free Stuff Will Make You Rich”
For the second example, we’re going to recreate the thumbnail for Alex Hormozi’s popular video: “Giving Away Free Stuff Will Make You Rich”.
Step 1: Generate the image on Midjourney
To generate the image, we used the prompt:
Man in tank top holding a present with a look of concern, perfect saturation, --ar 16:9
Step 2: Upload the image to Photopea
Step 3: Add extra emotion to the main character’s face
In this example, we want to distort the face so the man looks more concerned. This extra emotion and distortion will do a much better job of grabbing people’s attention.
To add extra emotion, you can use the ‘Liquify’ tool in Photopea. Go to Filter, then Liquify. You can then use your mouse to drag and distort the face.
Step 4: Add extra details
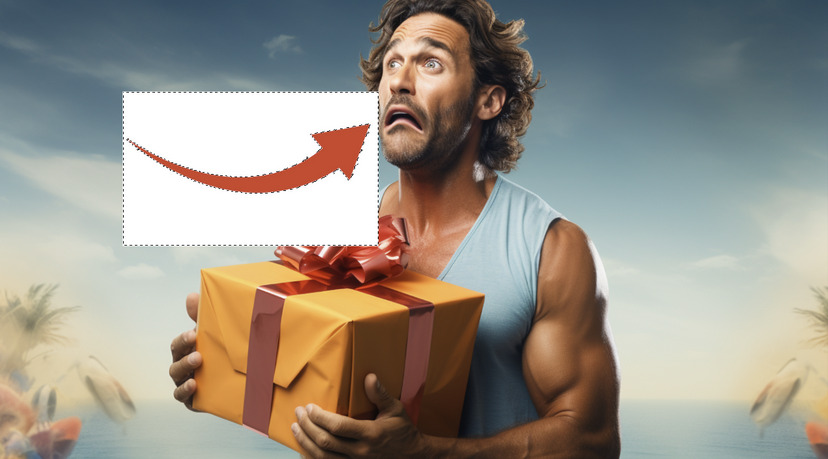
We want to show people that the gift is free (this word always triggers people). We also want to include an arrow to make it clear we’re talking about the gift.
To do that, we can find an image of an arrow online (just google ‘arrow’) and then upload it to Photopea.
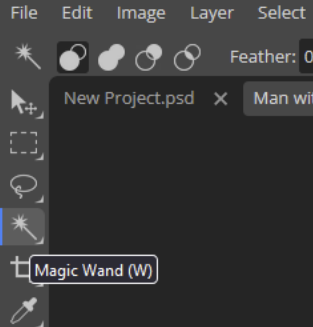
You can then use the Magic Wand tool to remove the background from the arrow image.
Twist the arrow around so it is facing the box, and add some text.
Final result…
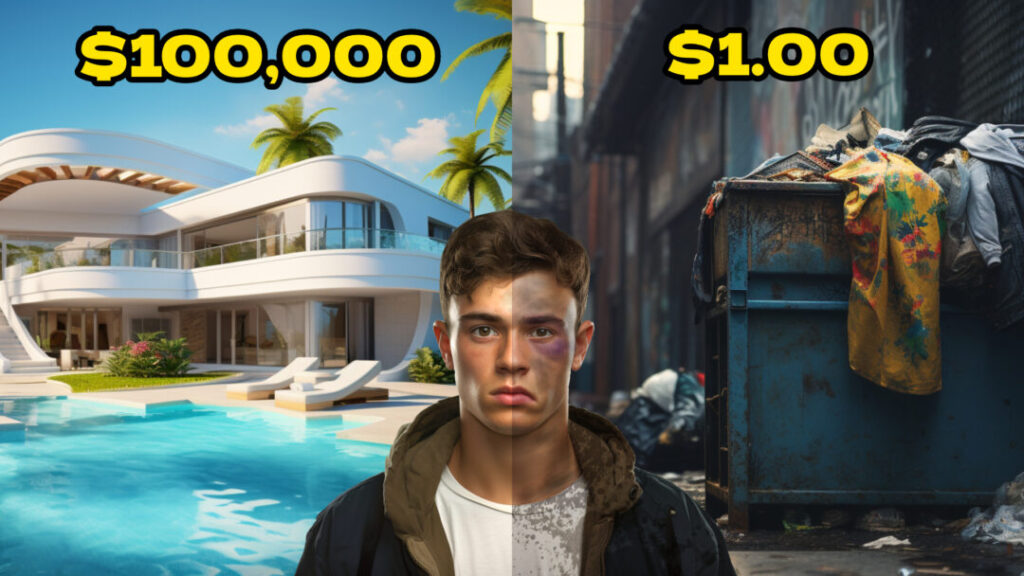
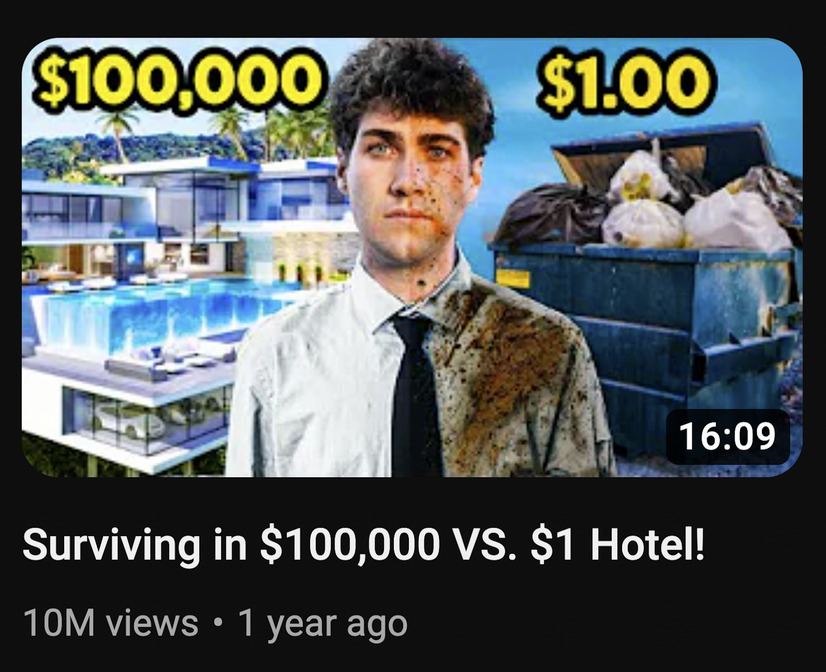
Example 3: “Surviving in $100,000 Vs $1 Hotel!”
For the third example, we’re going to recreate the thumbnail for Airrack’s popular video: “Surviving in $100,000 Vs $1 Hotel!”.
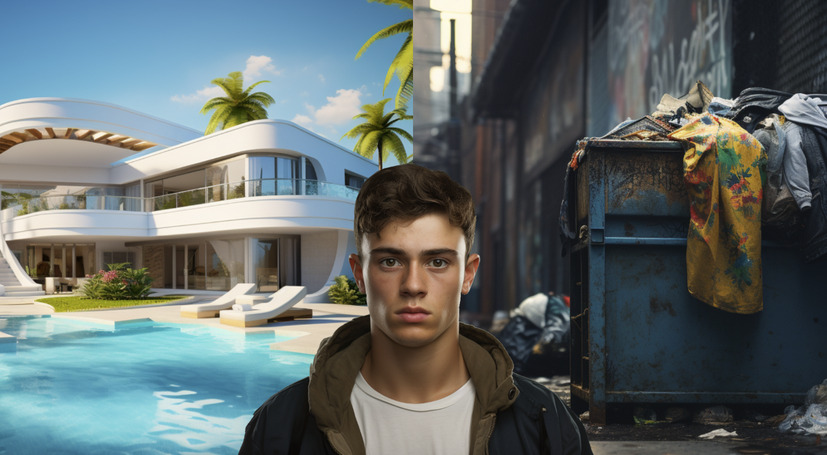
Step 1: Use Midjourney to find two contrasting background images
This image uses a popular thumbnail template. It shows two different halves to create a stark contrast, with a character in the middle to bring the thumbnail together. It tells a story and gets people excited for what’s to come.
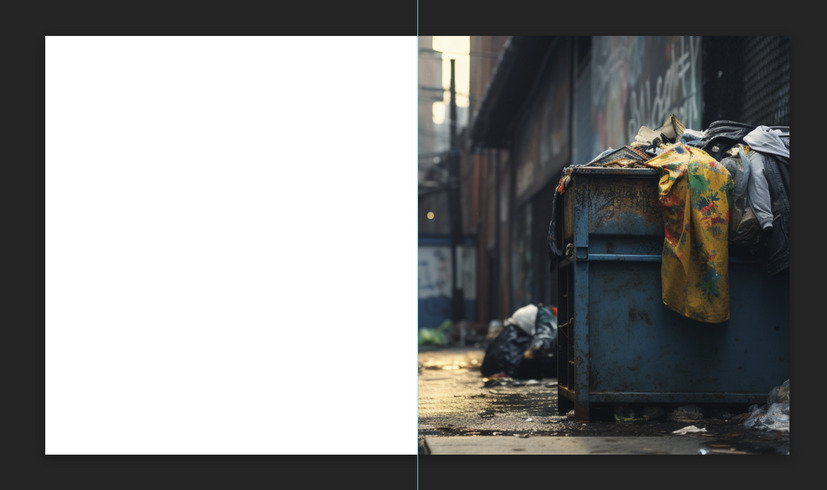
So, we need to create two background images: one that shows a beautiful hotel, and another showing a dumpster.
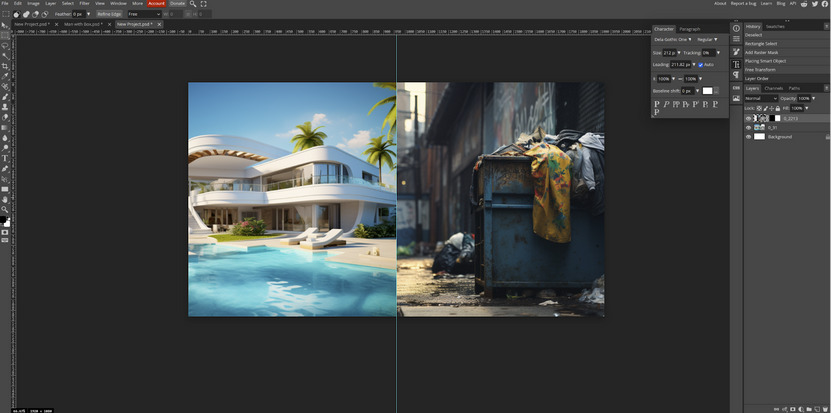
Step 2: Upload the images to Photopea
We can use the ‘Vector Mask’ tool to crop the two images in half. First, use the ‘rectangle select’ tool to select the area you want to keep (excluding the area you want to remove). Then, click the ’Vector Mask’ button in the bottom right of Photopea.
Do the same for the other image.
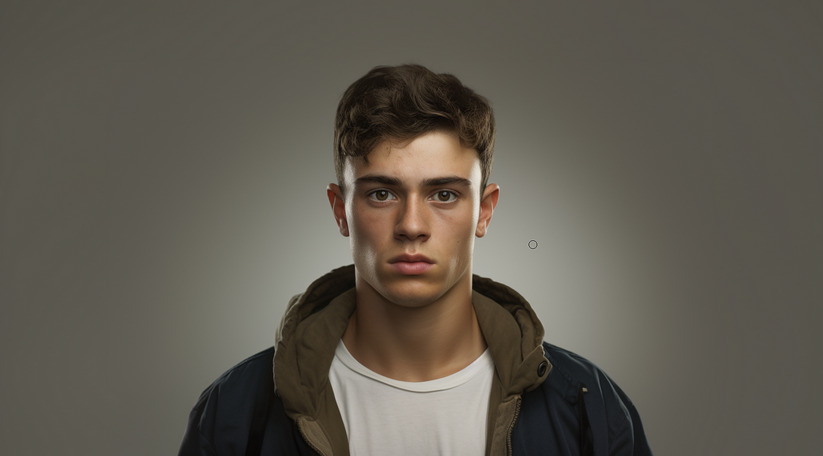
Step 3: Add a main character
Now, we’re going to use Midjourney to create a character for our thumbnail.
Young man front facing with neutral expression, clear background --ar 16:9
Step 4: Upload to Photopea and remove the background
Use the Magic Wand tool to select the character and remove the background.
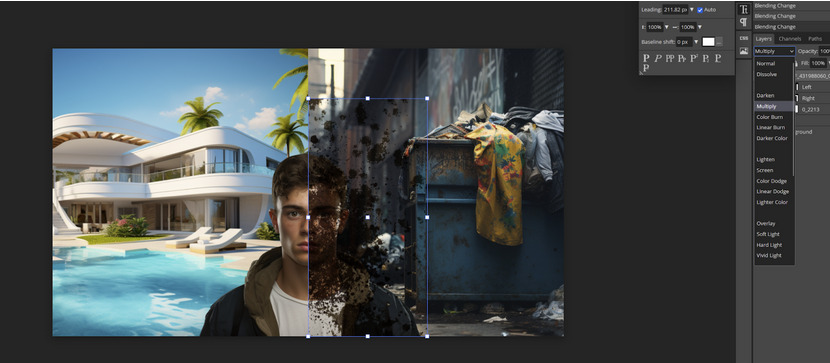
Step 5: Make the main character (half) dirty and bruised
First we want to add some dirt to the right hand side of the character. You can easily find stock images of dirt by searching on Google.
Upload the dirt image to Photopea, and position the image so it covers only half of his face.
Then, we can change the opacity to make the dirt image more transparent.
We then used the ‘Eraser Tool’ to remove the dirt from his face. Now, it looks like his clothes are dirty.
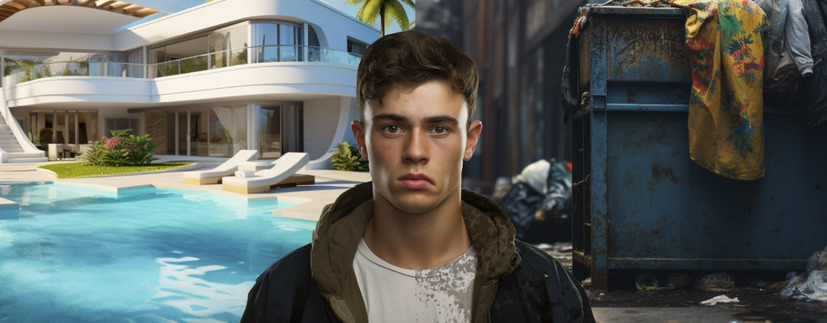
For good measure, we used the Liquify tool to make the right hand side of the character look sad.
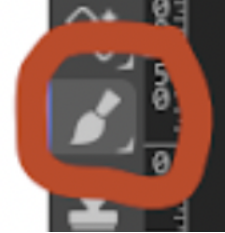
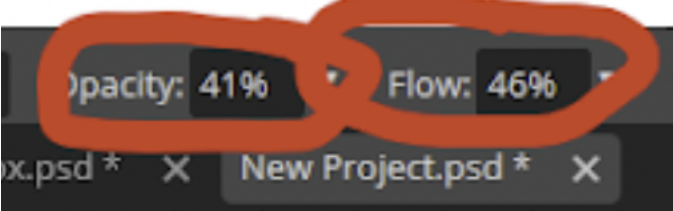
Then, we used the brush tool with a 41% opacity and 46% flow to literally paint on dirt and bruising to the character’s face.
Finally, to boost the contrast between the left half and right half, we apply a filter to make the right hand side dreary and darker.
Step 6: Add relevant text
We add some relevant text that complements the title and helps viewers understand the image.
Final result…
Okay, that was awesome… but I need more guidance
Admittedly, this tutorial is a mere whistle-stop tour of Midjourney and Photopea. These tools have a lot of incredible features that will enable you to create thumbnails even better than those in this article.
If you want to learn more about how to use Photopea, then I recommend watching the beginner’s guide below. It’s a 10 minute time investment that could pay dividends for years to come.
I want to learn more about Midjourney
If you’re as excited as us about learning how to use Midjourney and create AI art, then make sure you check out our guide on advanced Midjourney prompts.
1,000+ Free Midjourney Prompts
Check out our free resource of 1,000+ Midjourney Prompts. It includes design styles, logo prompts, photography prompts, game design prompts, Anime prompts, and a lot more.